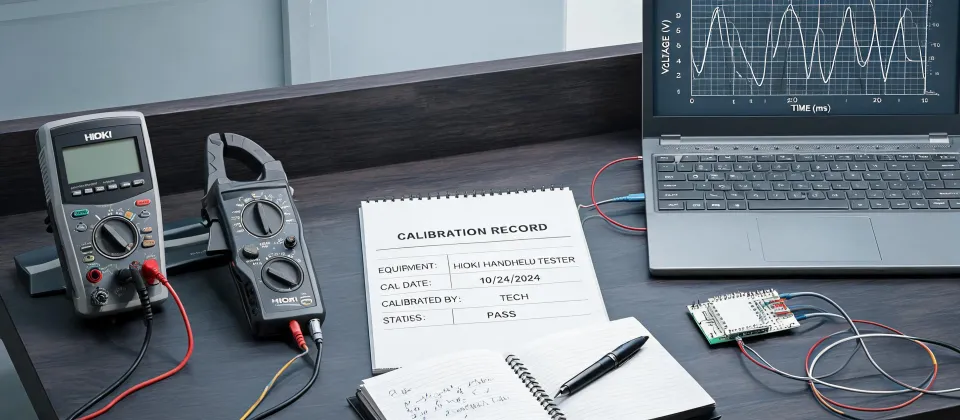
In March 2024, 36 hours before a validation batch, a lab supervisor called about a temperature sensor. It was reading 2.4 °C low. She had already found a replacement at another branch and was ready to pay a rush fee to get it there. I asked one question before approving the shipment: how is the sensor mounted? The answer: it's taped to the outside of the pipe. The sensor wasn't bad. The method was.
I coordinate emergency instrument deliveries for plants, labs and contractors. In the last six years, I've handled 300 or so rush requests—maybe 280; I would need to check the log. What stays in my memory is how often the root cause has nothing to do with the instrument.
The surface problem: replace the box, keep the mistake
When a display shows a number that doesn't match the situation, a replacement instrument feels like a decisive move. You expedite shipping, cancel meetings, and authorize the purchase. But if any part of the measurement setup is wrong, the shiny new instrument will be wrong in exactly the same way.
From the outside, a calibrated instrument is enough. The reality is that the instrument is only the last link in a chain. Everything before it—cables, connections, placement, range, calibration, operator technique—can be wrong, and the display will still produce a confident-looking number.
The real problem: a reading is not a measurement
I keep a simple rule: the display gives you a reading, but a reading only becomes a measurement after someone verifies the method behind it. What I mean is not just 'is the instrument calibrated?' A calibration certificate describes the instrument under reference conditions. It doesn't describe your fixture, your leads, your probe placement or your technique. If the instrument is trustworthy but the path from the physical world to its input circuit is contaminated, the result is garbage with good packaging.
This is where I start to sound like a broken record, but it's true: accuracy is a property of the whole measurement chain, not of the box. Once you see that, the fix is not less technology. It's more discipline.
Where method failures hide
HVAC clamp meter: what else is inside the jaw?
When someone asks for a good HVAC clamp meter, the usual questions are about true RMS, CAT rating and maximum current. Those matter. But the question that saves an afternoon is simpler: what exactly is inside the jaw? A clamp meter measures the magnetic field around everything it encloses. If you clamp around a line and neutral together in a single-phase circuit, you should expect close to zero. That's not a meter fault; it's physics. The same thing happens when someone clamps a bundle of wires because a single conductor is hard to reach.
Most buyers focus on whether the clamp meter is true RMS and completely miss whether they can separate the conductor they need to measure. Buy the best meter you want, but if you cannot get one clean conductor into the jaw, the reading is almost meaningless.
Why I still keep a Hioki analog multimeter within reach
For some jobs, a digital number is the wrong way to display a signal. When you are watching a relay contact close or checking whether a switch is intermittent, a Hioki analog multimeter and its needle show movement and direction. A digital display gives you a final value, but it doesn't show the transition in the same way. The needle is honest about instability, too. A digital reading can make a noisy signal look final.
I'm not saying analog is better than digital. I'm saying it answers a different question. In an emergency, that difference can be the reason you find the fault instead of ordering a part that was never broken.
Hioki LCR meter IM3536: compensation before confidence
If I need a serious LCR measurement, the Hioki LCR meter IM3536 is usually the model I bring up first. It can test components across a wide frequency range and provide detailed impedance information. But it will happily include the impedance of your test leads, too, unless you perform an open/short compensation. That process sounds like a formality. It isn't. At higher frequencies, a few centimeters of wire can change a result from pass to fail.
If you skip compensation because you are late for a production test, you haven't saved time. You've created a second test. That is the kind of 'efficiency' that costs more than it saves.
A temperature sensor measures where it is, not where you think
The same logic explains the March 2024 phone call. A temperature sensor is only useful when its sensing element is at the temperature of interest. Taping a sensor to the outside of a pipe measures the outside surface of the pipe, plus the local air, plus the tape's own insulation effect. It does not measure the fluid inside. A replacement sensor would have shown the same error, with a higher shipping cost.
The expensive version of this mistake is not the sensor. It's the decision made from the wrong data: a batch rejected, a process held, a cleanout scheduled, a chemical addition approved. I remember one rushed replacement that cost over $2,000 in freight and labor before someone noticed the original sensor was sitting in a dead air space between a badly fitted thermowell and the process line. A two-minute check at the beginning would have prevented the entire job.
Even lab work: how to use eppendorf pipette correctly is the same lesson
I do not spend my day in a life-science lab, so I read about this more than I live it. But when people search 'how to use eppendorf pipette', the answer usually sounds easy: fit a tip, choose the volume, press to the first stop, immerse the tip, release slowly, then press to the second stop to dispense. It is easy if the operator is slow and consistent. It is not easy when a lab is rushing, because fast plunger movement and a short pause inside the liquid make the delivered volume different from the displayed volume.
For liquids that behave more like water, a quick pre-wet of the tip improves repeatability. Skip it and you will still get a number; it just may not be the amount you think you delivered. Same rule, different tool.
The cost of a missing method
Here is what a method failure actually costs: the price of a new instrument plus air freight, the labor to install it, the second test, the third test, the missed deadline, and the credibility you lose when you return to the team to say the original part wasn't bad. A digital number that is precise but wrong is more dangerous than an obviously unstable reading, because nobody stops to question it.
The short fix: make verification part of the rush
I am in favor of digital efficiency. Automated logging, remote diagnostics and well-designed instruments make teams faster. But none of that removes the need for a basic pre-check. The fastest route is a two-minute setup checklist:
- For a clamp current reading: confirm only one conductor is inside the jaw, and the jaws are fully closed.
- For a temperature sensor: confirm the sensing tip is in direct contact with what you are trying to measure, or inside a thermowell filled with thermal compound.
- For an LCR meter: do the open/short compensation before you test, especially if you changed fixtures or leads.
- For a pipette: set the volume within range, seat the tip properly, aspirate slowly, pause, and dispense to the second stop at a consistent speed.
- Before replacing anything, verify the reading with an independent reference: a known resistor, a separate thermometer, or a second meter.
The checklist is not bureaucracy. It is the cheapest insurance in measurement. If you want speed and efficiency—and I do—you don't remove the check; you put it in front of the deadline.
A well-built product helps. The Hioki LCR meter IM3536 and a Hioki analog multimeter have earned places in my inventory because they behave predictably. So does an HVAC clamp meter with honest specifications. But no meter can fix an empty thermowell, a bundle of wires in the jaw, or a pipette tip handled too quickly. Check the method first. That question has saved more deliveries than any rush fee I've ever paid.